How-to-guide to building a community orchard

By: Danielle Yaste
When working on a project, very rarely does a crew get to see the entirety of the project, from start to finish. The community orchard project in Grand Marias was an exception to that rule. With three days, seven crew members, ten steps, and lots of effort from Cook County, an orchard was created.
Step 1: Put the Project in Motion
The Grand Marias Community Orchard project began in the Spring of 2016 when 100 apple trees were donated for prisons or law enforcement centers. This donation set the project in motion. Thereafter, the planning took about 2 weeks because the county had a deadline to meet for the Lloyd K. Johnson Foundation grant, which would be needed to build the orchard that would hold the donated trees.
After the grant was secured, the Cook County Extension, ran by Diane Booth, and the Cook County Soil and Water Conservation District came together and developed a plan for the orchard and the water irrigation system.

Step 2: Find the Funds
The Lloyd K. Johnson Grant covered $15,909 of the $32,219 community project, a majority of the remaining cost was covered by in-kind donations, making the community orchard truly a community project.
Step 3: Find a Team
Diane was the one who put the orchard project in motion, but she was quickly aided by the staff of the SWCD of Cook County. The SWCD developed a plan to use the 8,000 sq ft. roof of the law enforcement center to water the trees. Along with the Cook County staff, local apple orchard owner, Ray Block, was brought in to make the community apple orchard a reality. After the plan was created, the funds were secured, and the leaders were put into place, they brought in the Moose Lake and Gooseberry crews to round out the team.

Step 4: Prepare the Location
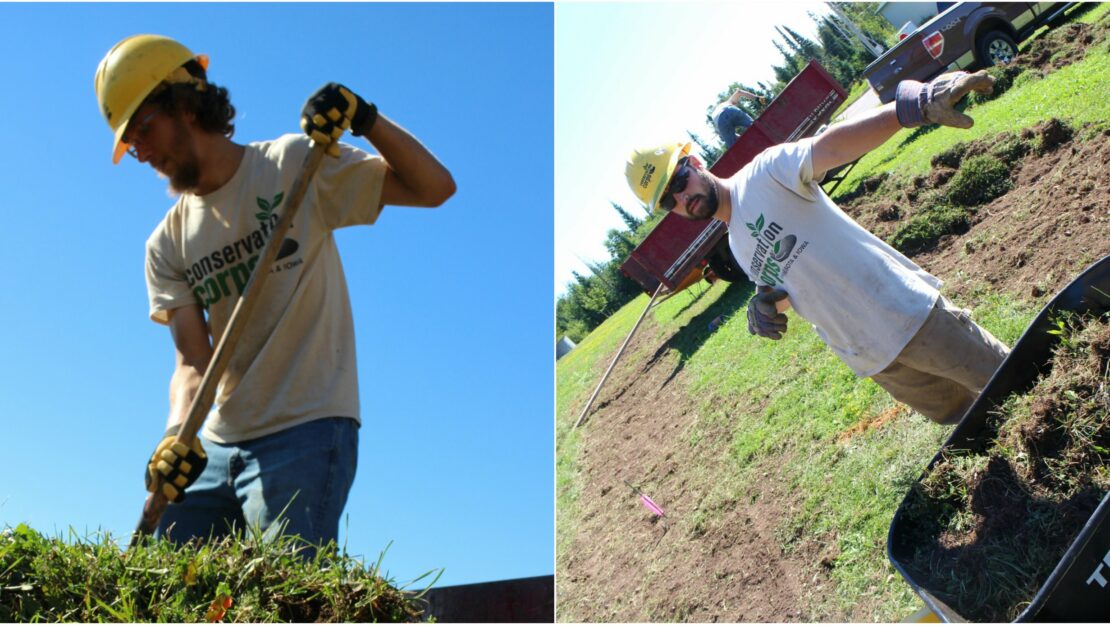
What began as the beautiful lawn of the local Law Enforcement Center, became the community orchard. In order to get to that point, turf had to be removed where the terraced boxes were going to be put.

Step 5: Build the Boxes
Once the turf was removed, boxes were built that would contain the rows of apple trees. Simple boxes were put along the fences for berry and grape plants as well as the apple trees.

Step 6: Plant the Trees
The trees that were used were picked particularly for their ability to thrive in the colder weather on the North Shore. Additionally the breeds of trees that were selected are on the shorter side, making them perfect for children to adventure through and learn from. A plot was created in order to ensure that every plant was placed at the right depth in the soil.

Step 7: Lay Landscaping Fabric
Landscaping fabric was laid over some of the rows, this was to ensure that no other vegetation would begin to grow in the new soil. Other rows were left to be covered in other experimental ways.

Step 8: Bring in the mulch
Mulch was added atop of the landscaping fabric to add to the safety of the trees and to the overall ascetics of the orchard.

Step 9: Put up the Trellis
Trellis’s were added to help guide the trees as they grow.
Step 10: Have an Ice Cream Party
Maybe the Ice Cream Party is not entirely necessary, but it was a great way to end the project. The orchard project was another highlight of the year. There was never a boring moment, and always something to learn.
